Hello Dark Mode

One of the projects that's been on my mind since WWDC last year when the Mac got dark mode was adding support for it to my website. I know that Safari doesn't support it directly yet (though it does in the Technology Previews) but it will soon, and the rumors are hot and heavy that iOS 13 will have it as well. I wanted to be ready, and break outside of my normal comfort zone for a bit.

Things are getting dark around here

I'm no CSS wizard by any means, and I found a very helpful Iconfactory post detailing how they added support to their site that served as my guide. I took the time to refactor some CSS into helpful variables (a few were already in place from the Ghost theme I used to use), and it wasn't too much work to get the initial pieces in place.

The bigger work came with syntax highlighting. I use prismjs for my syntax highlighting, and it consists of 2 components: some Javascript and CSS. The JS file didn't need any changes but my default CSS uses their light theme. Thankfully CSS has handy conditional @import rules that let me use a media query. So I downloaded a separate CSS package for a dark them and applied it and all was well. This also allowed me to move the code highlighter CSS import to my main CSS file, meaning each page on the site loads exactly 1 CSS file. I count that a win in my book for maintenance.

The last thing was figuring out table styling, since I used one in my post about iOS push notifications, and that wasn't too bad either. If you want to check out what I did, the commit is right here.

If you'd like to check out what the site looks like in dark mode, download the Safari Technology Preview and flip your Mac running Mojave into dark mode.

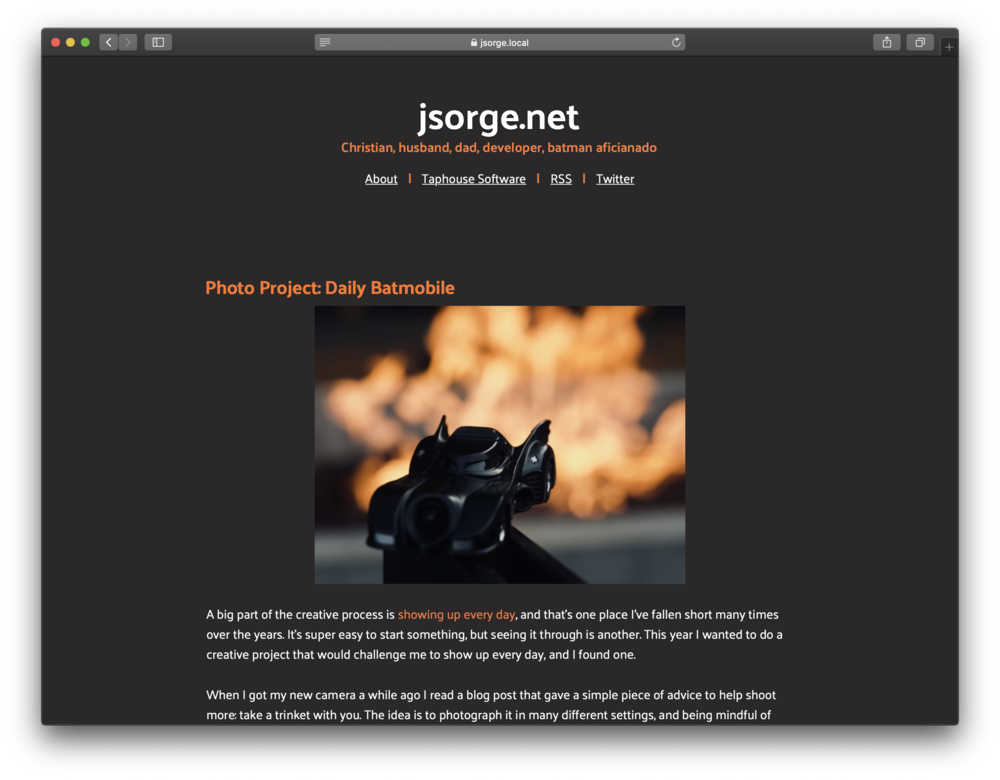
Photo Project: Daily Batmobile

A big part of the creative process is showing up every day, and that's one place I've fallen short many times over the years. It's super easy to start something, but seeing it through is another. This year I wanted to do a creative project that would challenge me to show up every day, and I found one.

When I got my new camera a while ago I read a blog post that gave a simple piece of advice to help shoot more: take a trinket with you. The idea is to photograph it in many different settings, and being mindful of wanting to take more pictures encourages you to learn your camera and think about how you can frame the next shot. My wonderful wife got me a Hot Wheels Batmobile for me to carry around, but I didn't do much with it at the time.

I decided this year to take on the creative project of shooting a photo a day with my Batmobile and I'm pleased to report that I've shown up every day this year. Some are better than others (which is to be expected!) and a couple have made me very happy with how they've come out.

Honestly I've gone back and forth deciding whether or not I want to share them. On the one hand, it's a fun project and I'm really enjoying it. On the other hand, I know my skills aren't fantastic and it opens me up to critique (and knowing the internet, possibly some sharp barbs along the way). But I've decided to go for it and share them because I want to get better and I want to hold myself accountable this year to deliver a photo every day.

I'll be posting my photos on an iCloud shared album here. I would like a slightly better web presentation but this method is easy for me to publish from my Mac or iOS devices so that's the way I decided to go. I'm anxious to hear any feedback that you might have.

I never thought that I'd become "sharp edges guy" but the last couple of days at work I've run into doozies.

  1. The AVCaptureMetadataOutput.rectOfInterest rectangle has to be transformed into the coordinate space of the output itself - meaning that you can't give it a CGRect from your view and have it work. Instead it must be converted to the coordinate space using AVCaptureVideoPreviewLayer.metadataOutputRectConverted(fromLayerRect:).
  2. When adding a custom view to a UIBarButtonItem you need to have that view handle the tap on the item itself. Assigning a UIImageView, for example, negates the bar button item's target and action properties for some reason. Of course it's not documented.

I wonder what I'll run into tomorrow 🙂

A while back I got rid of Google Analytics for this website and Taphouse's too. I also went and downloaded fonts that I could embed in the site to get rid of TypeKit. I thought that was it, but it turns out my monospace font was downloaded too. Thanks to IBM Plex that's no longer the case.

Goodbye anything that can track you!

Automation Revelation

When I relaunched my website last summer using my homegrown blog engine (Maverick) I adopted the textbundle format for writing posts and I was using Ulysses for my writing. But after launching the site and using Ulysses for long enough I was running into some friction with their Markdown syntax. That led me to the decision to not renew my subscription when the time came.

I'd since gotten a BBEdit license after hearing tons of people I highly respect speak glowingly about it and decided to use it for writing my posts. It doesn't support textbundle natively like Ulysses does, but it does well enough for my needs. textbundles are in fact just a folder with a Markdown file inside with an optional assets directory. So I've been using BBEdit for writing on my Mac ever since.

But I've been running into a different kind of friction: making new posts was kind of painful. I've been manually making the directory structure, copying the info.json file, and creating the text file myself. I'd written an Alfred snippet to create the front matter that each post needs, but that's become problematic too because dates are hard (more on that in a minute).

Well, we've gotten deluged with snow in my neck of the woods so I figured I'd dive in to a couple of new tools and get this thing automated. I watched through the NSScreencast episodes with John Sundell explaining his Marathon scripting tool written in Swift, for Swift. I was able to take that knowledge and make a little script which outputs the directory structure I need, fills the front matter on the post, and launches me into BBEdit where I can write away.

Part of the spark for this was that I'd approached dates all wrong when I built Maverick. I used dates in my current time, not against UTC. I have posts automatically show up on my microblog using micro.blog's cross posting functionality and when my posts came over they were off by 8 hours or so (I'm in the Pacific time zone). So I had to go through all my posts and update times, then use dates that are UTC based (formatting them using an ISO8601DateFormatter and .withInternetDateTime).

I should be all set now, and my posts showing up in the correct order on my microblog. Happy Saturday!

Update

Here's the script that I wrote, in case you're interested 🙂

CALayer Mask Inversion

I've got a view controller with a camera view, overlaid with a partially transparent dimming view. I need to punch a hole out of the dimming view to let the camera shine through in its full glory. My first crack was the code below, and it works:

override func viewDidLayoutSubviews() {
    super.viewDidLayoutSubviews()

    let inset: CGFloat = 16.0
    let rectWidth = self.view.frame.width - (inset * 2)
    let rectHeight = rectWidth * 0.63
    let rectSize = CGSize(width: rectWidth, height: rectHeight)

    let rectOriginY = (self.view.frame.height / 2) - (rectHeight / 2)
    let rectOriginX = inset
    let rectOrigin = CGPoint(x: rectOriginX, y: rectOriginY)

    let maskRect = CGRect(origin: rectOrigin, size: rectSize)

    let maskLayer = CAShapeLayer()
    let path = CGMutablePath()
    path.addRect(self.dimmingView.frame)
    path.addRect(maskRect)
    maskLayer.path = path
    maskLayer.fillRule = .evenOdd

    self.dimmingView.layer.mask = maskLayer
}

Which produces what I want:

But it was redrawing too often (during transitions especially). I decided to have the mask only draw once, and I needed the view hierarchy set up. So I put it in viewWillAppear. Exact same body as above just different lifecycle method. Here's that result:

How in the world can the same code produce such different results?

Update

Thanks to Tom Bunch for asking me about the state of our view controller's superLayer. At viewWillAppear, it has no super layer but at viewDidLayoutSubviews it has one. The class of the layer is a UIWindowLayer (which is a private class). Turns out that the super layer must apply some transform that causes our inversion to happen.

To get around the problem of the too many redraws I have instead opted for a simple hasAppliedCutout boolean state check during viewDidLayoutSubviews. It's not the cleanest solution but it will work for what I need without too much extra fuss.

On the Sharp Edges of UIView.mask

I'm working on implementing a new user-facing feature at work, and the designs I've been given call for having a dark gray semi-transparent view overlaying a view, and this semi-transparent view has a rectangle punched out of it. Not having done this kind of thing before I went searching the docs on CALayer to see what options are available. I knew that layers could mask other layers so this seemed like the right place to go.

While using a layer-based mask seemed promising initially, I wanted flexibility to move this mask around pretty easily using Auto Layout constraints. I stumbled upon a really helpful article from Paul Hudson outlining the UIView property called mask. From the docs, this property is:

An optional view whose alpha channel is used to mask a view’s content.

That's the entire description we're given. I ran the code from Paul's blog post in a playground and sure enough I was able to mask the view (more on this later). So I adopted it in our app, and I ran it. I looked and there was no mask. In fact, the entire overlay was not visible. Huh? Why would this work in a playground but not the app?

Turns out there are a couple of undocumented gotchas that go along with using a mask, and if you don't know them you could spend a lot of time learning the hard way. I'm hoping this will spare you some lost hours. Here we go.

  1. The mask view cannot be part of a view hierarchy. This means no Auto Layout, and no constraint manipulation. It's all frames with this view.
  2. The mask cannot be held on to by anything except for the view it's masking. Don't try to store it as a property or you're in for a bag of hurt (as in it won't work at all, and the view it's masking will no longer be visible).

I suppose that if #2 were to be solved it could make #1 possible, but the reality is that if this property is going to have as many usability issues as it does then the documentation needs to be updated to reflect that. If you've been in the Apple developer sphere for very long you've heard the phrase "Radar or GTFO". With that in mind, I submitted rdar://47809462 (OpenRadar link) as I do not want to GTFO 🙂.

🔗 No More Oppatoo

No More Oppatoo

But kids inspire love, such deep unconditional love. You love and treasure how they are, down to the smallest quirk. Then, suddenly, right in front of you, they change. While one might grow used to the slow, sad change of growing apart from an adult you love, this feels very different.

This post from Allen Pike has been sitting with me for a while. I've got 2 boys, 5 and 2.5 years old, and my wife and I get to see their personalities develop. Atticus (our 5 year old) used to be attached to his pacifier, calling for it before going to bed with adorable cries of "Paci!" and Finnian (the 2.5 year old) went through an adorable phase of saying "yep" to everything.

Right now Finnian is saying "That's awesome", endlessly singing songs like "Baby Shark", and "Jesus Loves Me", and going on and on about choosing the purple bath bomb. Atticus loves watching toy train videos on YouTube and hugging every stuffed animal he comes across and saying "nice !".

I know these phases will end someday, perhaps soon. For now they will be replaced with other super cute things. The day may will come when the new things are simply grammatically correct and no longer endearing in the way toddlers are. It seems parenting is a bittersweet endeavor.

Take pictures, shoot video, make audio recordings. The memories will only last in our minds for so long, but we can preserve them thanks to the pocket computers we all carry. I think that's one of the best parts about living in the time we do. We can always remember our kids as they were, while celebrating the people they become.

Scorebook 1.5 Retrospective

A couple of weeks ago I brought my app back from the dead. Scorebook was first released in November 2014, got a minor bugfix update a month later and then was unceremoniously removed from the App Store by Apple in January 2018. Apple doesn't want apps that appear dead on their store anymore and with good reason. By all external accounts my app wasn't under active development.

And it wasn't. Over the last couple of years my desire to play games had gone down because I didn't want to use my app with the state it was in. Mid-last year I even joined a beta for an app under development that was very close in functionality to Scorebook and I got sad. I didn't want to use their app; I wanted to use mine. So I got to work.

This is going to be a retrospective of what it took to bring Scorebook back, culminating in the release a couple weeks ago of v1.5.

Grab Game Image From Web

Scorebook has a feature that enables finding box art on the internet and attaching it to a game. I built that against a web API (Bing) that performed the image search and returned the results. That API disappeared, and its replacement was migrated to Azure. I spun up an Azure account and set up their image search API. Past me would have called it a day from there.

Instead, with my experience I've gained over the past few years, I knew that if I hit my own API I could prevent this from happening to future versions of the app. I've been playing around with the Vapor framework (which is written in Swift) to power the web service, and using their cloud service was able to bring my API online pretty easily.

The most interesting part of this was thinking through authentication. I don't store any user data – don't want to, and don't plan on it– but wanted only my app to be able to talk to the service. I also know that baking a key into the app is fragile. So I utilized the public database provided by CloudKit to store the record. On launch the app performs a search for the key, which it then uses to authenticate to the server. The server likewise has the key and uses a middleware class that I wrote to validate the key sent as part of the request. I know it's not bullet proof but it gets the job done for what I need and I'm happy with the solution.

On Memory and Images

When a fried of mine was using the app after it first launched he told me about a crash he saw when taking pictures during a gameplay. Being the young developer I was, I looked at Crashlytics, didn't see anything, and moved on. It wasn't until later that I learned that out of memory crashes aren't picked up by crash reporting tools other than Apple. I decided to look into it and hunt it down if indeed it was a problem. (Narrator: It was)

I went through and audited all the places in code where I display an image. Save searching for a game image, all images are loaded from files on disk (though that did change in this version from the files being binary blobs in Core Data). When I needed to show a picture I'd simply create a UIImage from the data and put it in an image view. Done and done. Except that leaks memory like crazy and can result in the system killing the app. Whoopsie.

Thankfully there were a couple great guiding resources that came out this year: WWDC 2018 session 219 (presented by Xcoder Kyle Sluder – once an Xcoder always an Xcoder), and a very helpful post by Jordan Morgan going into some extra detail on how to get it done.

I set about adding a downsampling method like the one at WWDC, and had to defer actually rendering the image until I knew the frame that it needed to fill. Sometimes it's a small circle representing a person's image, sometimes it's a picture taken during a gameplay. I don't make assumptions about that until I know all the conditions I need. Images are stored inside of the <Container>/Documents/Pictures/<ImageType> directory, so knowing the image name (which is stored in the Core Data entity) and the type of the image I need, I could assemble the URL to the image file on disk.

From there I hand it, along with the size needed, to the downsampler, and it hands back the scaled image. I had to get rid of essentially all of my [UIImage imageWithData:] calls in favor of this new method. It was a fair bit more work than I thought it might be, but wound up saving a ton of memory so it's completely worth it. Plus it was the right thing to do.

Miscellaneous

Those are the two things that took the longest to get done, and there are a handful of other things that made it in to this release from times over the last few years when I did some concentrated work on Scorebook. The big ones were architectural things like splitting up the main storyboard into multiple smaller ones, and refactors to have the app flow use coordinators.

I've also been modularizing things a bit as I'm working to get sync turned back on. We take that modular approach at Lyft and I really have enjoyed the benefits.

Final Thoughts

One thing I wasn't expecting was easily slipping back into my old mindsets as I approached a problem that I had set aside for a while. I have to knowingly refuse to let myself get caught up into old habits, or think that a problem is too big. If it's too big it just needs to be deconstructed further until it's in manageable chunks that I can tackle one at a time.

I'm incredibly happy to have Scorebook back on the App Store. Bringing it back to life has been a lot of work, but I've been able to look back at the decisions past me made (good and bad), and apply some of what I've learned at my day jobs as well.

Go forth and remember your games!
Mixing Swift and Objective-C in a Framework

If you've worked on an iOS app that has both Swift and Objective-C code you're likely well familiar with the rules for getting the two languages to talk to each other. A bridging header here, some @objc declarations there, and you're probably good to go.

But the rules change a little bit when you want to start breaking your code up into frameworks and suddenly there's no bridging header. So how are you supposed to get your mixed-language framework target working anyhow? Fear not, you've come to the right place.

For this example let's say we have a language learning app called BiLingual, and it has a framework target called LanguageKit.

Setting Things Up

The framework target needs to be configured to build as a module (using the DEFINES_MODULE build setting). It also needs to then define a module name (the PRODUCT_MODULE_NAME build setting). Usually you won't have a custom name, but that build setting is what you'd use if you want to.

Objective-C into Swift

Your Swift files that belong to the your framework target implicitly import the target. Where app targets use a bridging header to talk to Objective-C code, frameworks rely on the umbrella header – LanguageKit.h in our case. The umbrella header imports the headers you want to be made public like this: #import <LanguageKit/Language.h>. This style of import is a modular import.

Any header imported into the umbrella header can now be seen by Swift files belonging to your framework target. Sweet!

Swift into Objective-C

Like apps, frameworks rely on a generated header to expose Swift code to Objective-C. In our app we would import its generated header like so: #import BiLingual-Swift.h. But, in our framework files we need a modular import like this: #import <BiLingual/BiLingual-Swift.h>. Please, please, please only import these generated files in your implementation files. Importing them into headers is only asking for trouble.

From here the standard rules apply. Your Swift classes need to be NSObjects and members need to be decorated with @objc in order to be seen by Objective-C. The one other thing to note is that the Swift types need to be public in order for visibility to Objective-C. I honestly don't know why this is at the moment. I'm hoping that someone smarter than me ca point me to the reasoning for this. If you know, please drop me a line.

Private Objective-C into Swift

If you're like me, you're a stickler for having clean API boundaries. This means you may have some Objective-C classes that you don't want framework consumers to see but your Swift files might need them. Thankfully there is a good way to do this. You'll create a special module that is only visible inside the framework. Don't worry though, it's not as intimidating as it sounds.

First, in your framework's root, create a file called module.map. I don't know why it has to be this exact title, but it does. Here's its contents:

module LanguageKit_Private {
    // import your private headers here
    export *
}

We're making a module called LanguageKit_Private, and importing our private headers into it. There an extra build setting we'll set for this to work: SWIFT_INCLUDE_PATHS = $(SRCROOT)/LanguageKit. This tells the build system to look for additional module map files. From there in our Swift code, we can import LanguageKit_Private and the headers imported there are now accessible by Swift. 🎉

Wrap-Up

We've seen how to import public and private Objective-C into Swift, and public Swift into Objective-C. So go forth and worry no more about mixing your framework target languages!